|
It is
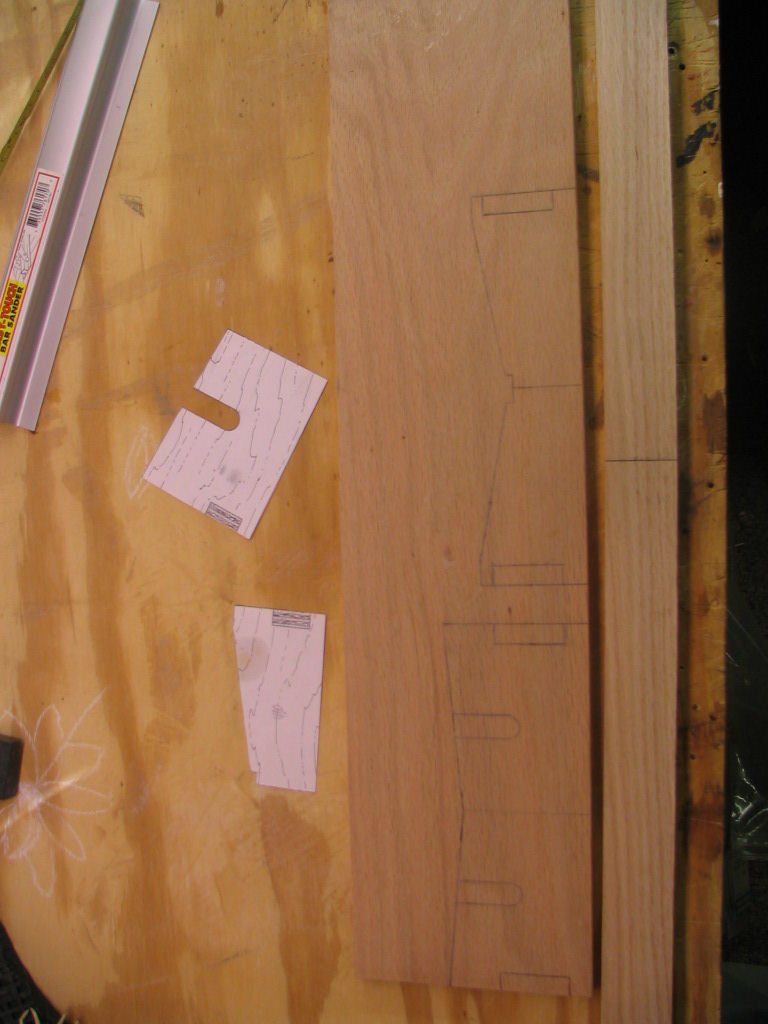
important to have a firm base on which to construct the model.
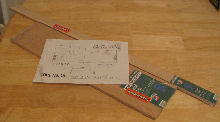
Using the shapes on Drawing No. 16 in the manual as templates,
make the stand from 10mm plywood. I made my stand from Oak.
Click on image to enlarge

Click on image to enlarge

Click on image to enlarge
|

Click on image to enlarge
Click on image to enlarge

Click on image to enlarge
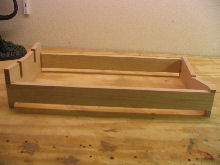
Line the edge where the
hull sits with either thin rubber or self-adhesive felt. (This
will stop damage to the painted hull when complete but anything
helps, be aware).
Place the hull onto the stand. If it sits slightly twisted, weight it down
so that it sits perfectly level. As you build the model keep
checking that the hull remains straight. Although the hull is
substantial, if you are not careful as you glue the deck in, you
can induce a twist into the hull! |