|
Starting the Hull:
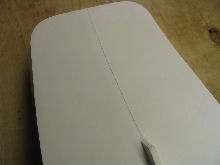
The hull will have a slight joint line
which will run from the center of the bow, along the keel and up
the transom. Remove it with a fine file and sandpaper. I
sanded the outside of the entire hull with 400 grit Wetordry™
then wiped the entire hull down with Isopropyl Alcohol.
This is to remove the polished finish on the hull an also remove
any mold release agent that still may have remained on the hull
from manufacturing.
Hull before:
Click on image to enlarge
Hull after:

Click on image to enlarge

Click on image to enlarge

Click on image to enlarge
Roger's Notes:
The pictures show where I needed to add filler to the
outside of the hull to bring it into the right contour. I
used Bondo® Glazing & Spot Putty.
The bulwarks:
The
insides of the bulwarks are laid up with a lot finer fiber than
the rest of the hull. Because this area will show when the model
is complete, this area needs to be made as smooth as possible.
There are two ways this can be done: you can just rub the
insides of the bulwarks down with wet & dry until smooth or you
can fill the bulwark insides with car body filler rubbed in with
a small specula or just scrap piece of wood. |
|

Click on image to enlarge

Click on image to enlarge
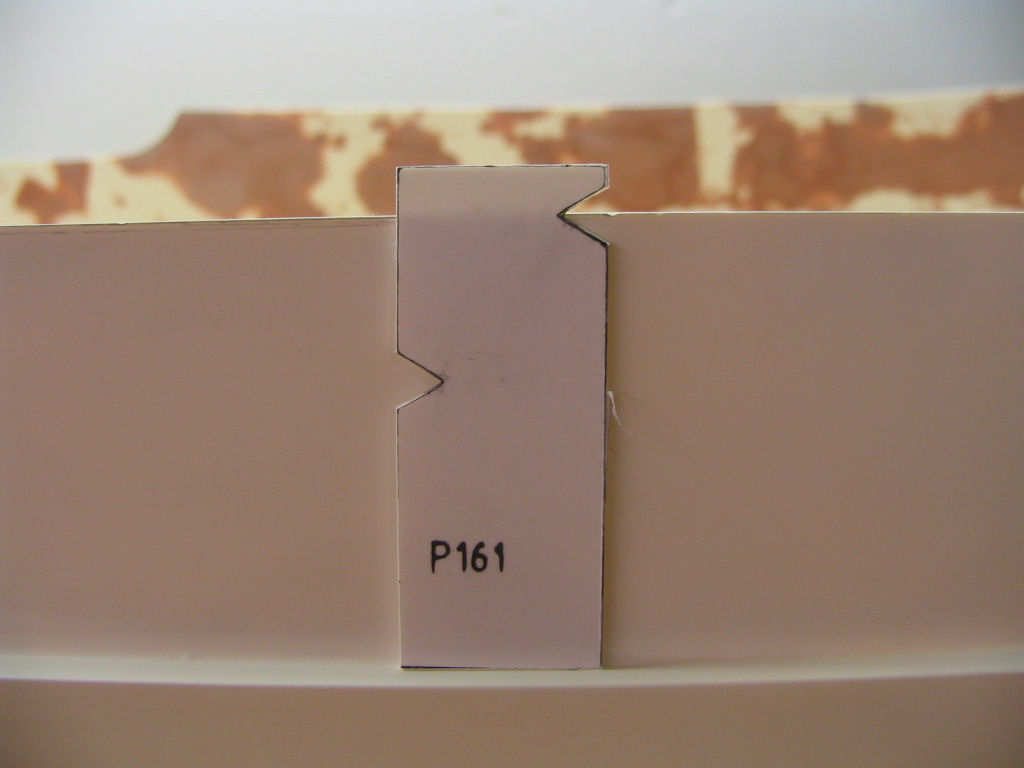
Cut from PPS-1 parts P161 &
P162, look at the hull and SIDE 1. Mark the base of P161, place
P161 onto the ledge around the outside of the hull below the
bulwarks and using the lower notch (28mm up from base) as a guide,
place a pencil point into this notch and draw around the back
half of the hull, mark in the bulwark height (28mm.)
Using the higher notch (42mm up) mark in the front bulwark, keep the
template upright so the dimension up the bulwarks at the bow is
longer than the sides.

Click on image to enlarge

Click on image to enlarge
Roger's Notes:
The picture
above looks a bit "rough" as for as the pencil marks go. I
used the pencil lines only as a "guide" while removing
fiberglass.
At the
step on the bulwarks, mark in the curved joint with P162.

Click on image to enlarge
Now I filed down
the tops of the bulwarks to this pencil lines I consistently
checked that the height is the same for each side.
|