|
Finishing Details |
|
   
Pass a
brass nail through the crane support and the crane, as shown.
Use a pair of needle nose pliers to form a loop in the end of
the nail. Before closing the loop, insert the snatch block.
Paint the assembled crane at this time. Then, slip the pulley
onto the snatch block (after you drill a 1/16" hole in the
center of the pulley). Glue it in place with CA.

Roger's Notes:
Midwest tells you to use a pair of needle nose pliers to form a
loop in the end of the nail. This makes more aggregation
than
it's worth. The nail is too brittle to bend and cracked
and broke on my model. Plus using this much effort
to make a bend in such hard brass may cause you to damage the
work you have already done on your crane. A trip to your
local hobby shop for some 1/16" soft brass will save the day.
I recommend
that you look at the Extras Area, you will see how I changed my
crane and how I did it.
Boothbay Lobsterboat Extras

Using the drawing on the plan as a
pattern, make a deck mounting plate for the crane from scrap
wood. Stain or paint the plate. Glue it to the deck with Slow
CA, in the position shown on the plan.
Roger's Notes:
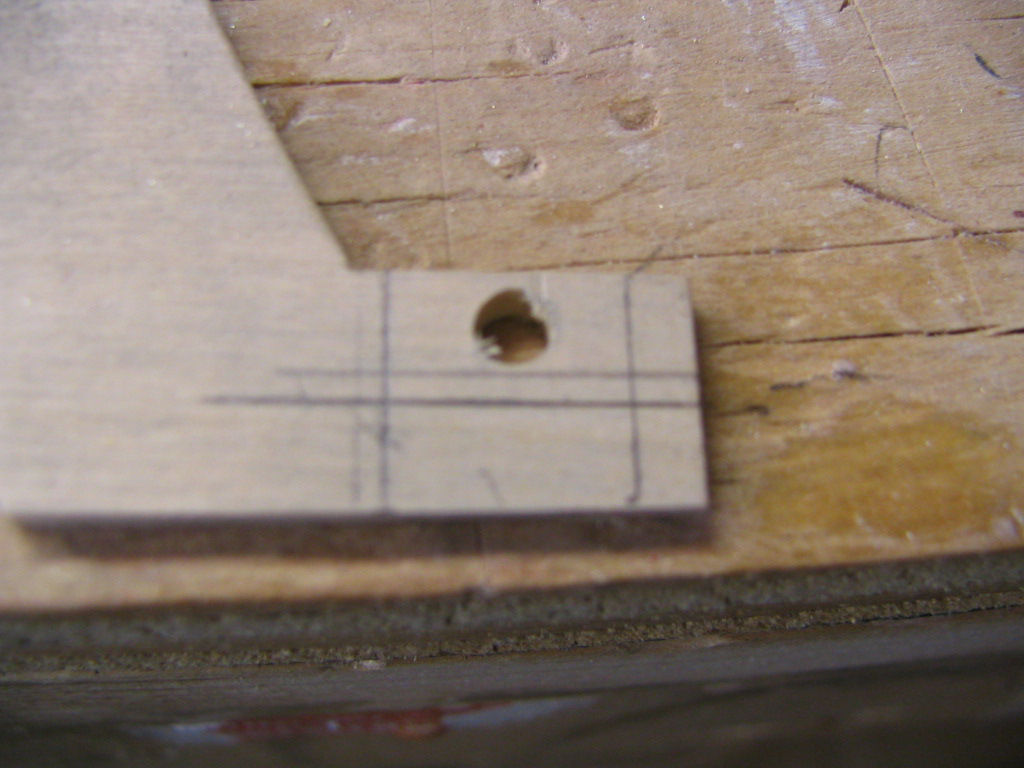
It is easier to drill your hole for the crane in your mounting
plate before you cut it to the final shape.

Click on image to enlarge

Click on image to enlarge

Drill a
1/8" hole through the plate and deck. Drill a 1/16" hole through
the cabin side for the crane strap. Insert the crane into the
hole in the plate and the strap into the hole in the cabin side.
Position the crane and crane support as shown on the plan. Mark
the position of the hole in the crane support on the deck and
drill a 1/16" hole through the deck. Anchor the crane support to
the deck with a brass nail, as shown. Then, apply a small amount
of CA to the base of the crane, crane support and strap to
anchor the crane in place.

Roger's
Notes: It is easier to drill your hole for the crane
in your mounting plate before you cut it to the final shape.
I changed the way I mounted my cane a bit.
Boothbay
Lobsterboat Extras
|
|
Crane
You will
need the parts illustrated in your manual to complete this
sub-assembly. They are all in the Accessory Bag.

Use the
drawing of the crane on the plan as a pattern to bend the curve
in the brass tube, as shown. Use a razor saw to cut the
tube to length. Drill 1/16" holes in the tube to fit the
brass rod. Also, drill a 1/16" hole through the upper end of the
tube for the snatch block, as shown.


Sand the
ends of the brass rod and the areas around the holes in the
brass tube until they are shiny. Insert the rod into the holes
in the tube and solder the rod to the tube.

Click on image to enlarge

Make the crane
support from the remaining piece of brass tubing by flattening
and bending the ends with a pair of pliers. Drill 1/16" holes
through the flattened ends, as shown.

Roger's Notes:
I used my bench vice to flatten the ends of the crane support
tube.

Using the
drawing of the snatch block on the plan as a pattern, make the
snatch block from the 1/16" soft brass wire. Also, make the
crane strap by forming a piece of brass wire around the crane.


|